Configure Puraroute with Anti-detect Browser
Configure Puraroute with Anti-detect Browser
How to Use PuraRoute with Ghost Browser
Guide for beginners on how to quickly configure PuraRoute proxies into Ghost Browser.
After you complete your RuraRoute proxy purchase, you may directly copy your proxy details and configure them for use within the Ghost Browser.
Operation Guide
I. To Add a New Proxy to the Ghost Proxy Control Extension
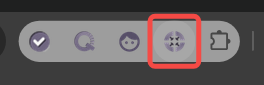
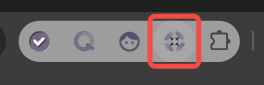
- Click the Ghost Proxy Control extension icon in the extension bar. It looks like this:
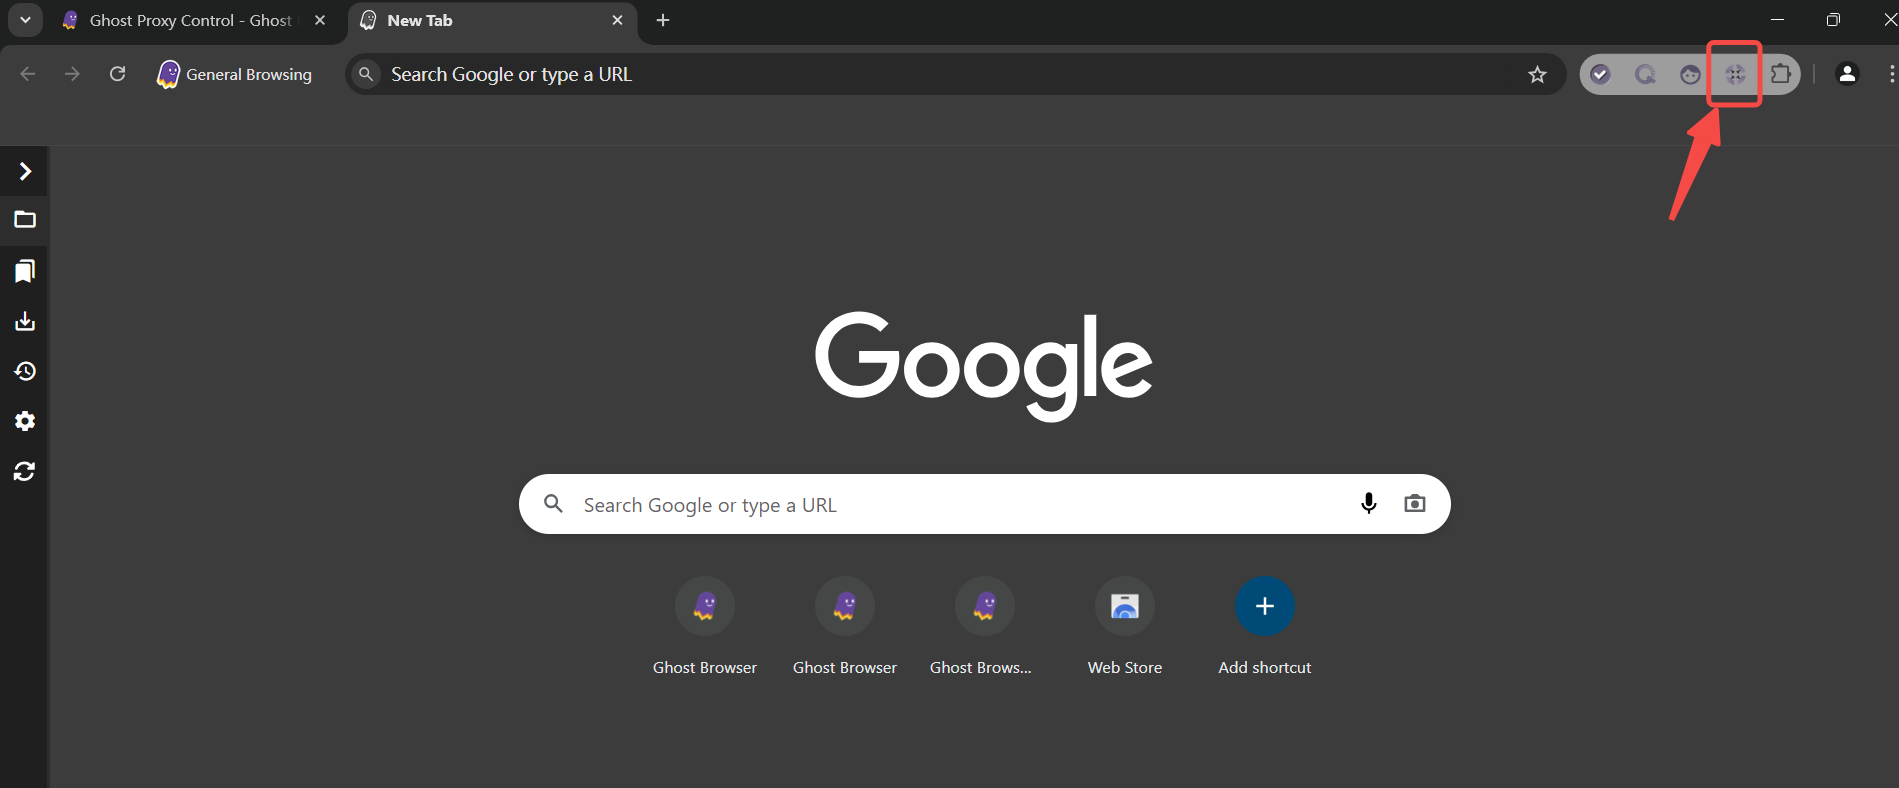
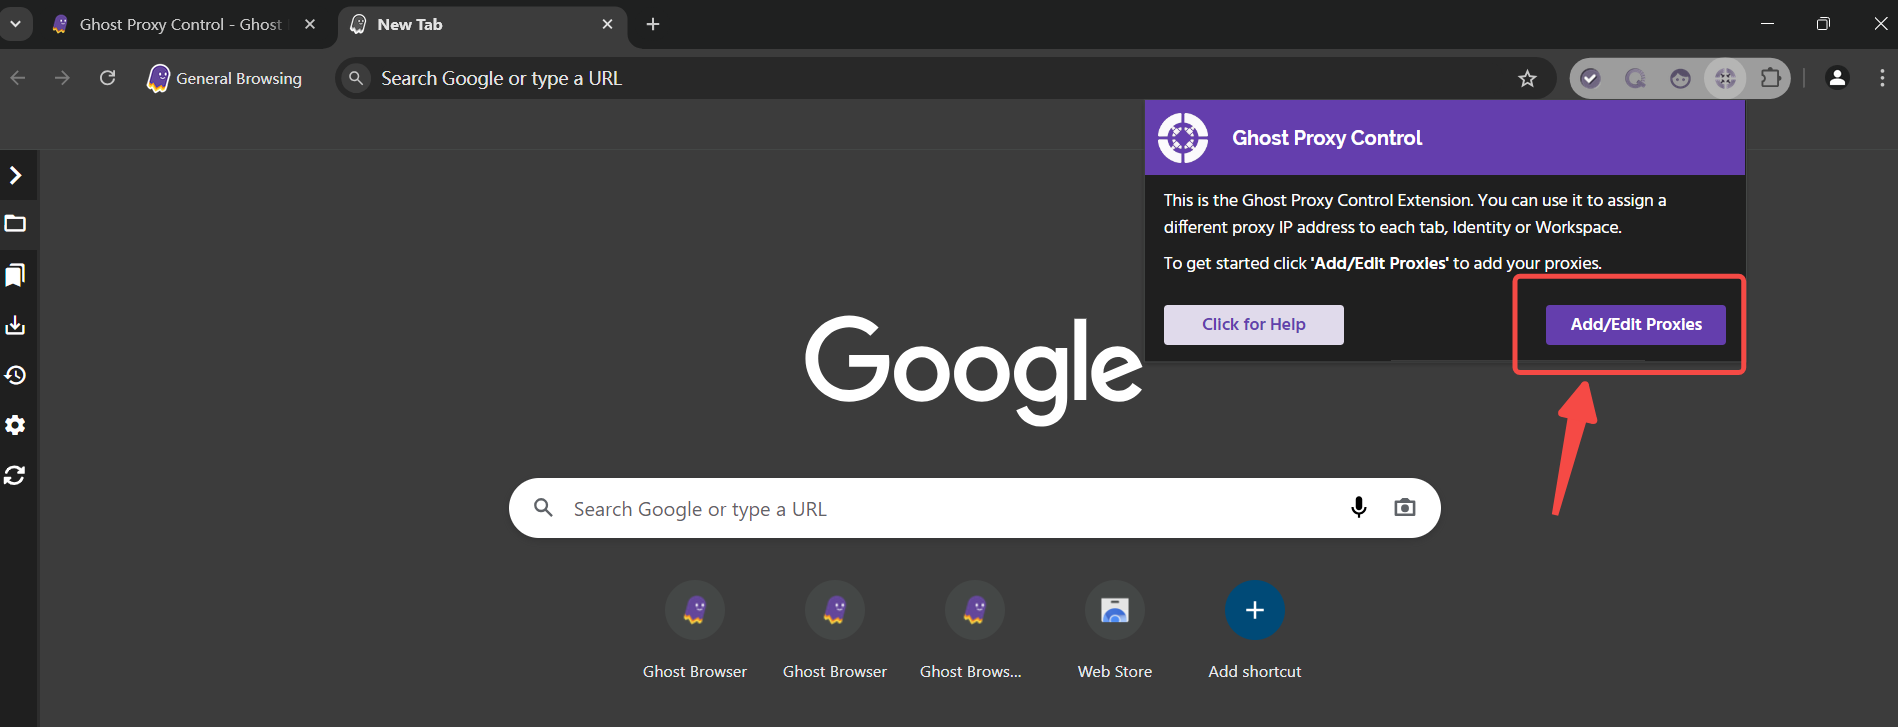
- From the drop-down extension window, select Add/Edit Proxies. The Ghost Proxy Control settings page will open.
- Click [Add a Single Proxy] at the top of the page.
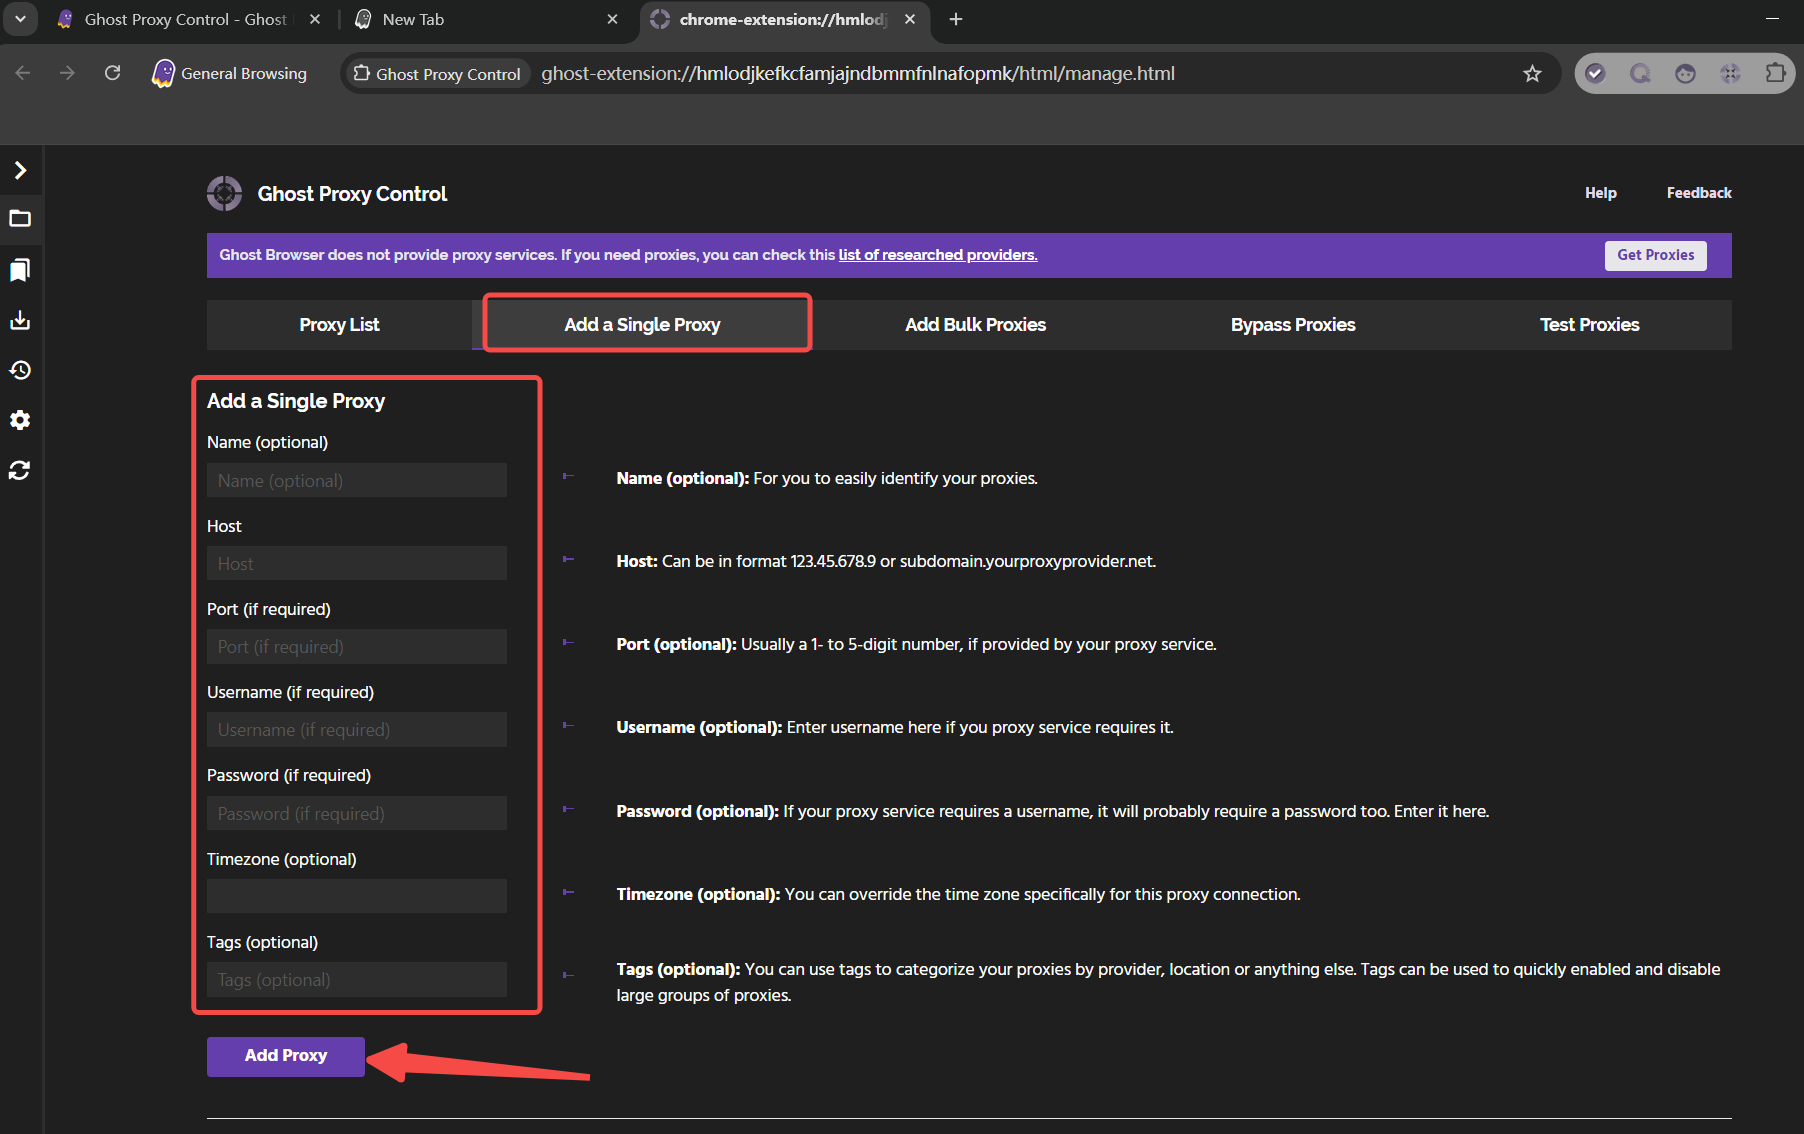
- Enter the required information about the proxy and click [Add Proxy] to save.
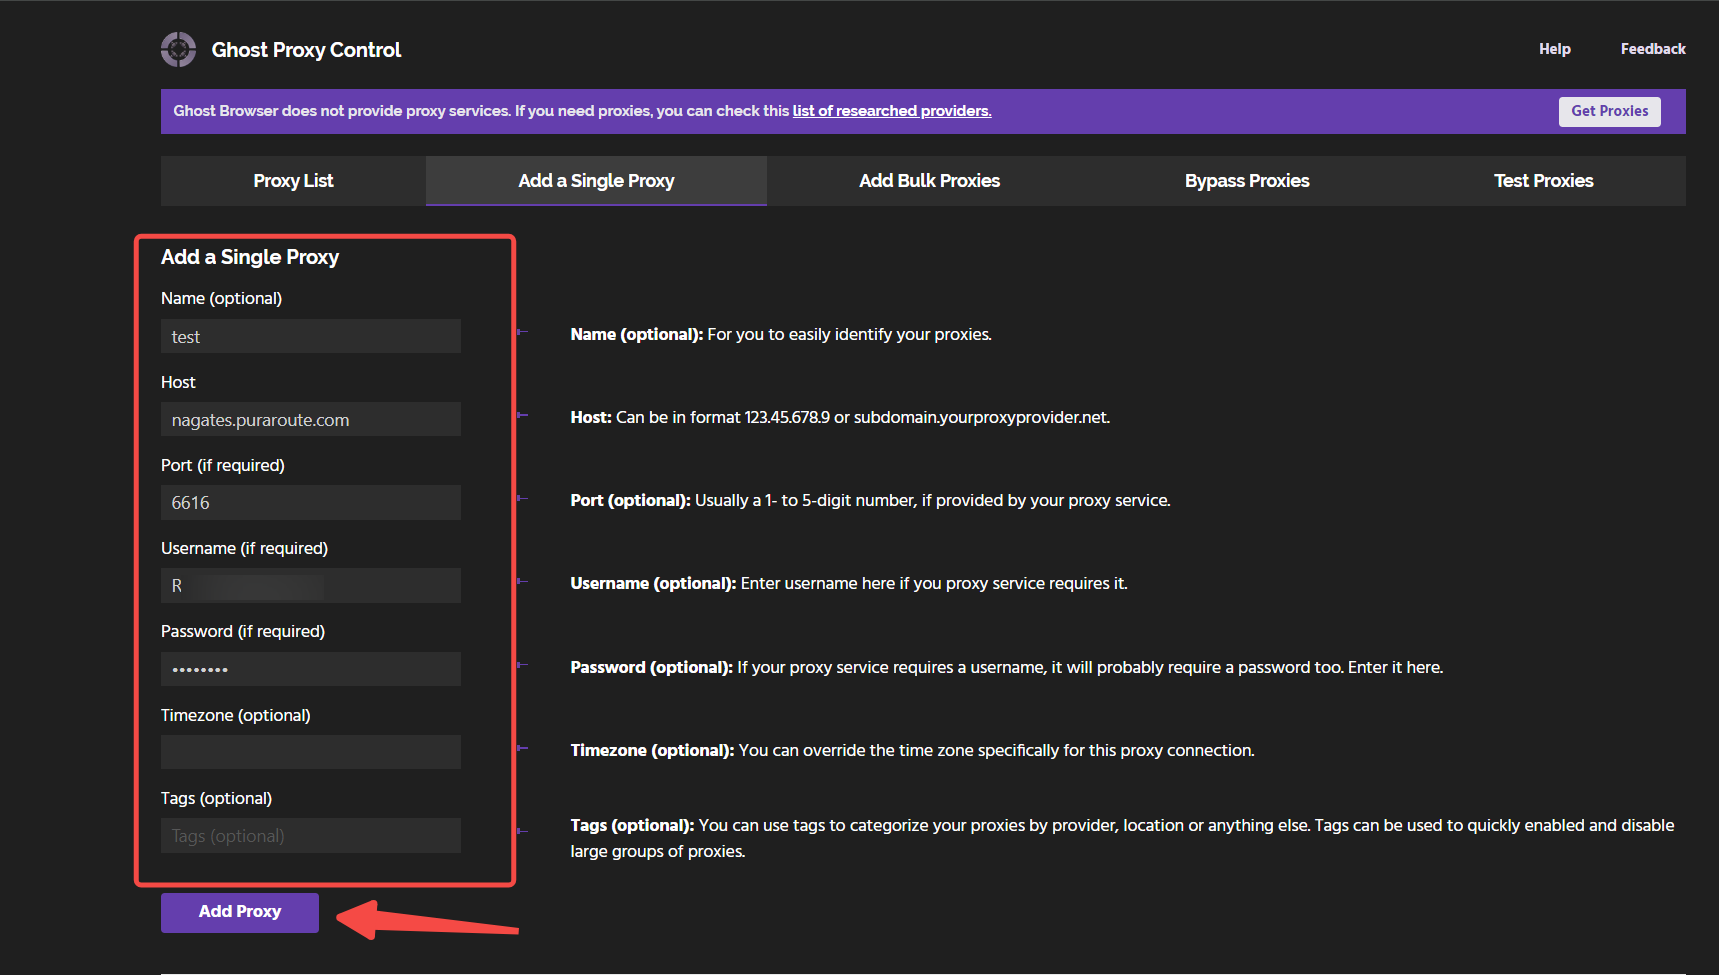
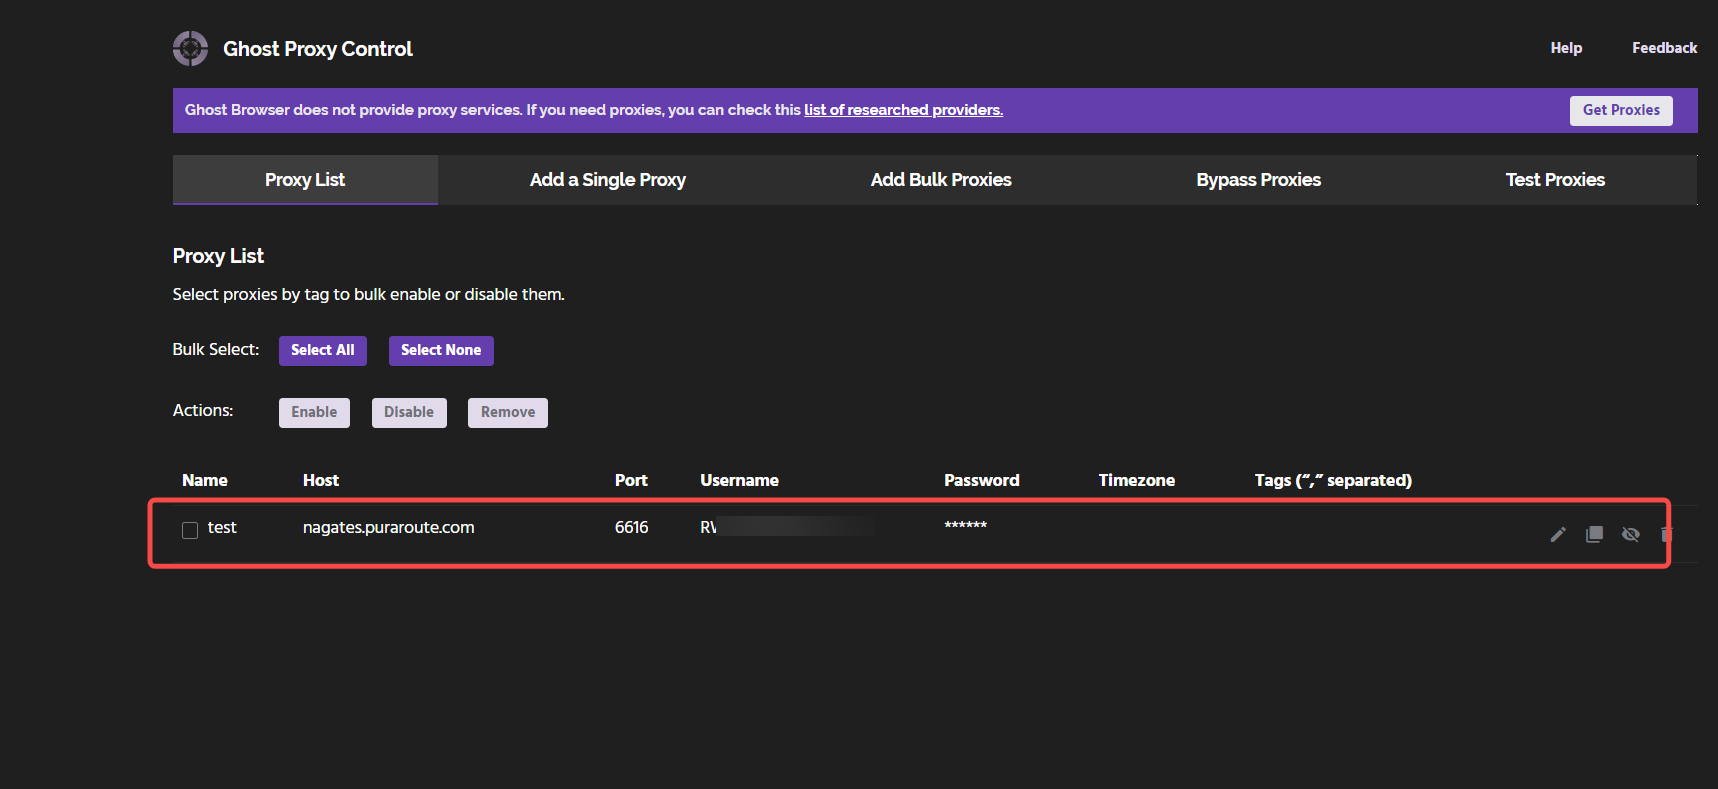
- You can view your proxy just added.
II. Assigning a Proxy
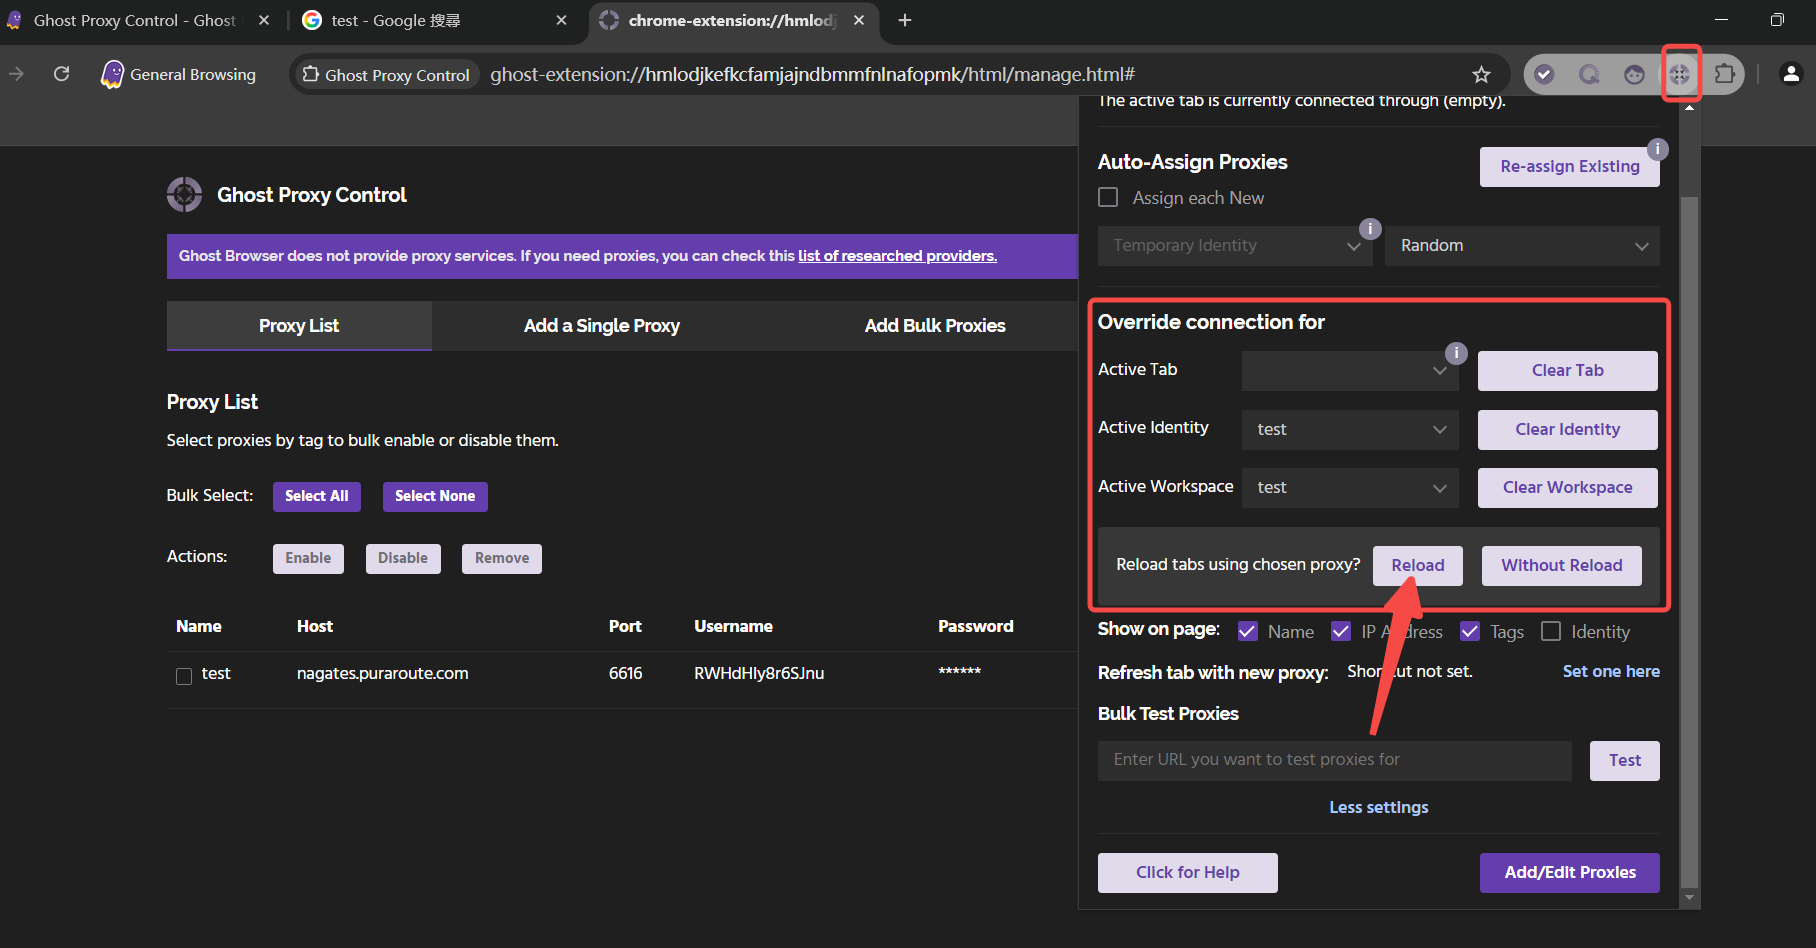
- To assign a proxy to the active tab, Temporary Identity or Workspace follow the instructions below. Click the Ghost Proxy Control extension icon in Ghost Browser. It looks like this:
- Click the menu to assign a proxy to the Active tab, Identity (Temporary or Permanent) or Workspace, and select which proxy you'd like to use.
-
Direct (no proxy): Routes traffic back through your direct connection.
-
System Proxy: Uses the system proxy (if any) you set at the browser (via PAC and/or 3rd party extension) or OS level.
- Click Reload.
III. Testing Your Proxy Assignments
After assigning a proxy to either the tab, Identity or Workspace, you can confirm the IP address was assigned correctly in two ways as described below. These methods can be used to confirm the correct IP address was assigned at the tab, Identity, or Workspace level.
- Open a fresh tab in any tab or Identity. How you do this will depend on your setup. If you plan to use a proxy in a specific Identity moving forward, please test that proxy in the Identity in which you intend using it. This is purely for account "maintenance" to keep your accounts and proxies consistent. If you're not super paranoid, it shouldn't matter ;)
- Click the Ghost Proxy Control icon in the extensions tray (see below screenshot of GPC icon in Fig. 1 below) and apply the proxy to the active tab, Identity or Workspace. If you're testing it in a permanent Identity, click the Identity Manager icon in the extensions tray (see below screenshot of Identities icon in Fig. 2 below) and assign the proxy to the desired Identity.
【 Fig. 1 - GPC icon】
【Fig. 2 - Identities Icon】
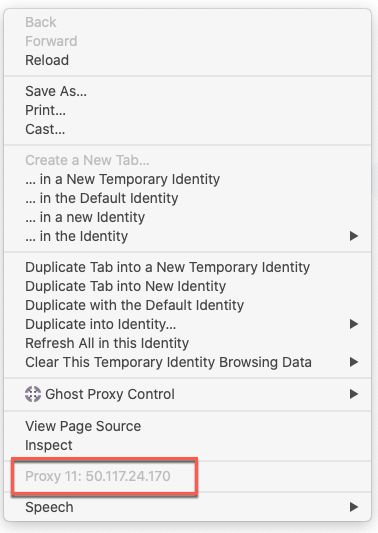
- In that tab/Identity go to Google and search, "What is my IP". It will tell you your IP address. You can also right-click on the web page and if the proxy is successfully applied, you'll see the IP address toward the bottom of the context menu that appears as seen in the screenshot below.